1 前言
该篇旨在 Hexo 的高级设置,博客搭建请查看 Hexo + GitHub 搭建个人博客
2 基本使用
2.1 跳转
2.1.1 文章内跳转
锚点 [文章内跳转](#目标位置)
目标位置 <span id="目标位置"></span>
2.1.2 不同文章跳转
{% post_link 要跳转文章md文件名 %}
例:
{% post_link hexo %}
效果:
Hexo + GitHub 搭建个人博客2.2 新增文章模板
2.2.1 在 scaffolds 文件夹下新增 post.md
---
title: {{ title }}
categories: 技术
date: {{ date }}
tags:
---

[1. 前言](#前言)

## 1 前言
2.2.2 快速生成模板 MD 文件
执行hexo new 文件名生成一个md文件
3 网站图标设置
3.1 判断主题是否已提供入口
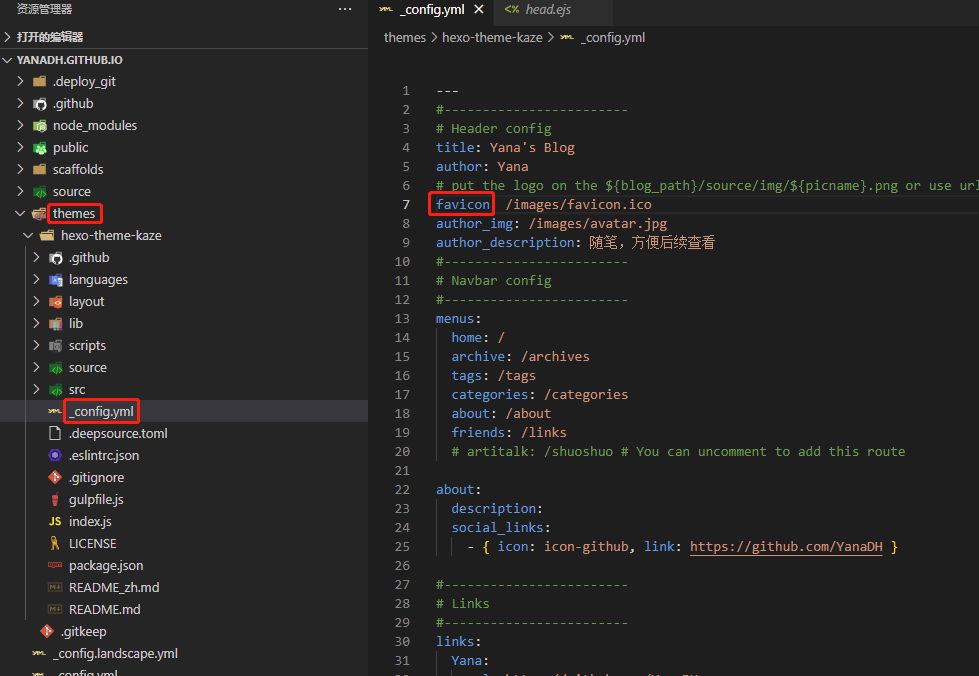
查看主题对应文件夹下的 head.ejs 文件是否有 <link rel="icon" href="" /> 标签,有该标签则已提供入口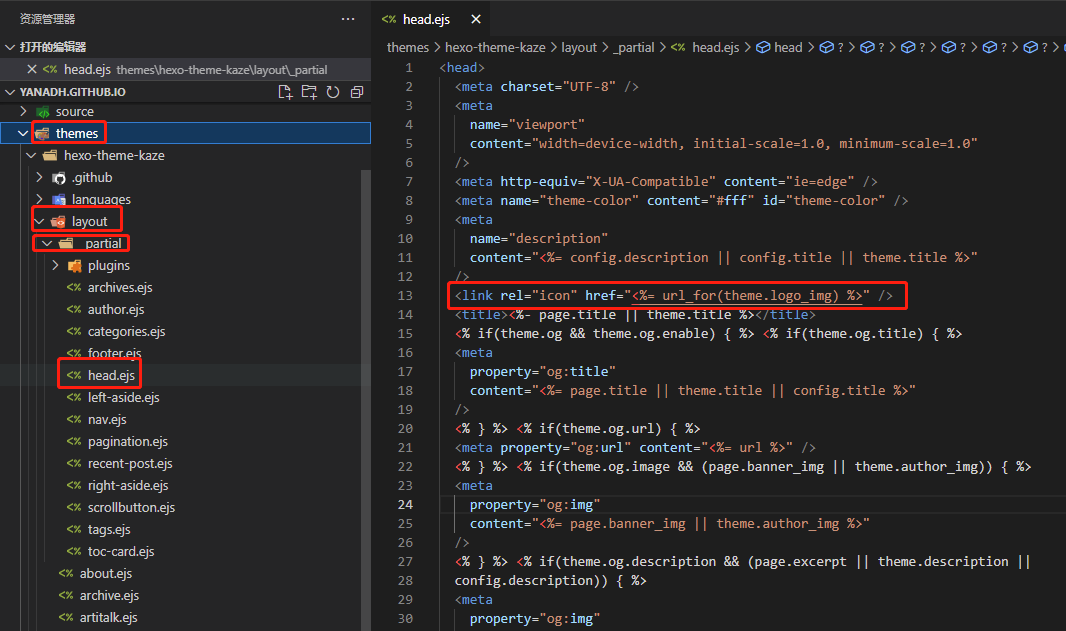
3.2 主题已提供入口
3.2.1 查看入口标识
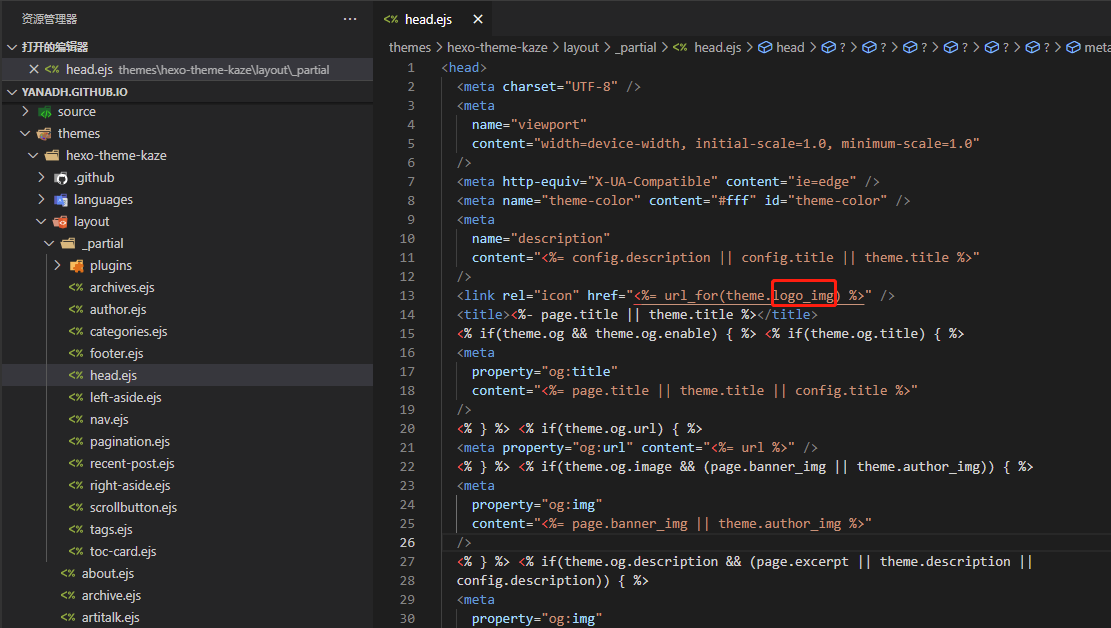
3.2.2 修改主题站点配置文件
注意,是修改主题站点配置文件,而不是根目录下的站点配置文件
支持本地路径,也支持远程路径

3.3 主题未提供入口
3.3.1 制作图标
使用比特虫来制作图标 ,也可以直接使用图片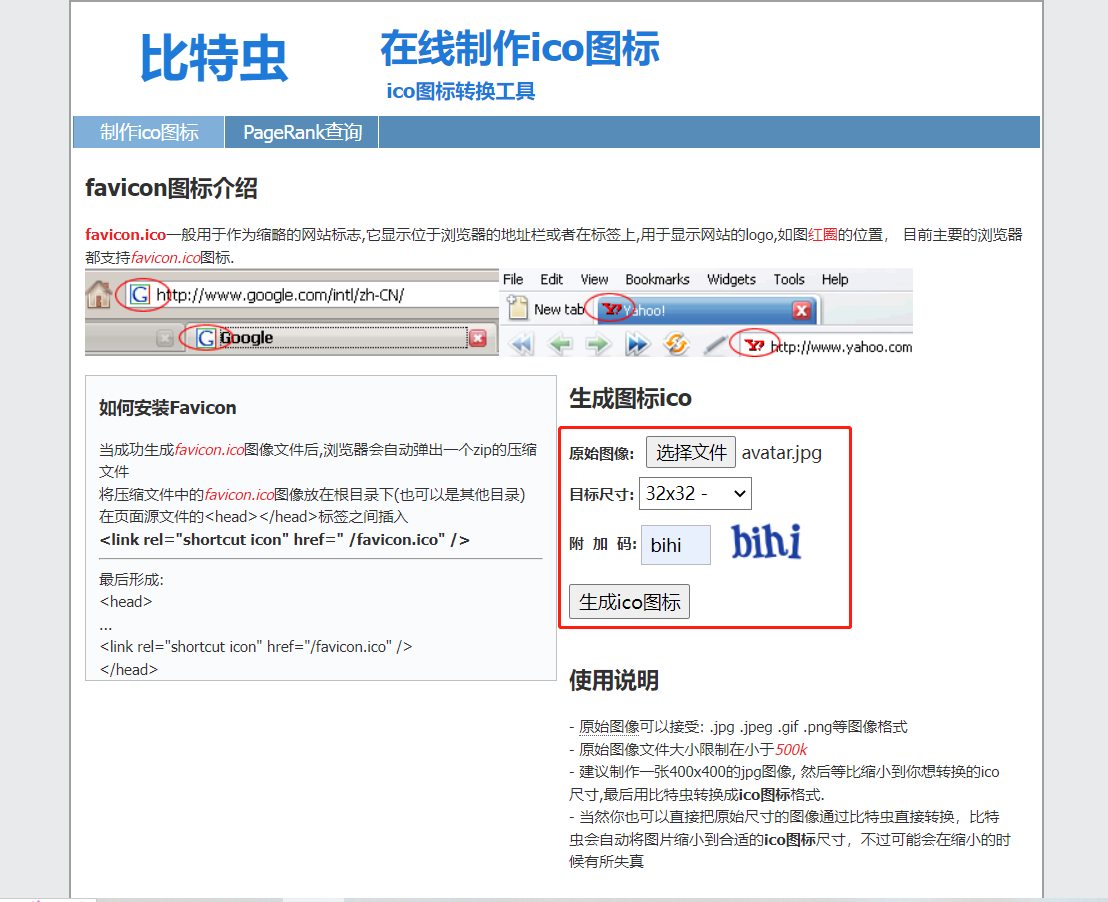
3.3.2 保存图标
将 ico 文件或图片放置到主题对应的的 sources/images 文件夹下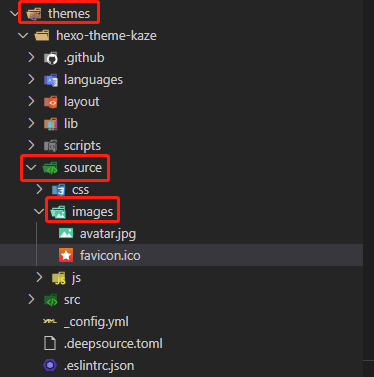
3.3.3 修改 head.ejs 文件
<link rel="icon" href="<%= url_for(theme.favicon) %>" />
3.3.4 修改主题站点配置文件
favicon: '/images/favicon.ico'
4 文章末尾打赏功能
4.1 主题自带打赏功能
4.1.1 准备收款码
将微信、支付宝收款码图片放到主题文件夹下的 images 文件夹里,可以使用草料二维码进行美化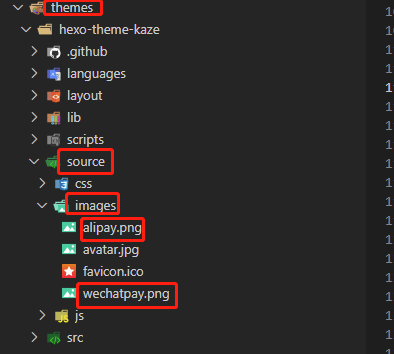
4.1.2 修改主题站点配置文件
#查看主题文档,确定主题是否支持打赏功能,以及打赏对应配置
#以 NexT 主题为例
reward:
  enable: true
  comment: 您的鼓励,是我最大的动力!
  wechatpay: /images/wechatpay.jpg
  alipay: /images/alipay.jpg
4.2 自定义打赏功能
4.2.1 准备收款码
操作同上
4.2.2 新增 reward.ejs 文件
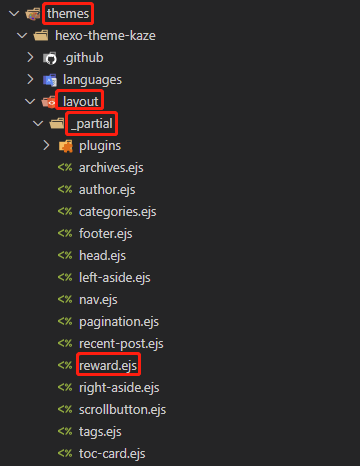
在主题文件夹下新增 reward.ejs 文件,并将以下内容复制到新增文件中
<div class="reward-container">
  <% if(theme.reward.pay_links) { %>
  <span class="reward-button"><%=theme.reward.title%></span>
  <div><%=theme.reward.message%></div>
  <div class="reward-pay">
    <% for(const item of theme.reward.pay_links) { %>
    <div style="margin: 10px">
      <img src="<%= url_for(item.link) %>" alt="<%= item.type %>" />
    </div>
    <% } %>
  </div>
  <% } %>
</div>

<script>
  const rewardButtonDom = document.getElementsByClassName('reward-button')[0]
  const rewardPayDom = document.getElementsByClassName('reward-pay')[0]
  rewardButtonDom.addEventListener('click', function () {
    rewardPayDom.style.display =
      rewardPayDom.style.display === 'flex' ? 'none' : 'flex'
  })
</script>
4.2.3 新增样式文件
在主题文件夹下新增 _partial 文件夹,并在新增文件夹里新建 index.styl 、 reward.styl 文件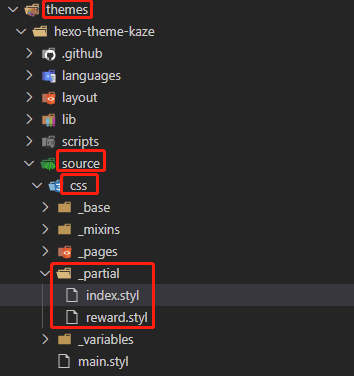
将以下内容复制到 reward.styl
.reward-container {
  margin: 30px 0 20px;
  text-align: center;
  .reward-button {
    display: inline-block;
    color: #fff;
    background-color: #ec7259;
    font-size: 16px;
    padding: 8px 16px;
    border-radius: 20px;
    cursor: pointer;
    user-select: none;
  }
  .reward-pay {
    display: none;
    flex-wrap: wrap;
    justify-content: center;
    position: relative;
    img {
        max-width: 150px;
    }
  }
}
将以下内容复制到 index.styl
@import "reward"
4.2.4 注册样式文件
在主题文件夹下的 css 文件夹里,找到全局注册样式文件,可能是 main.styl ,也可能是 index.styl ,需要自行判断
注册 _partial 样式文件 @import "_partial/index"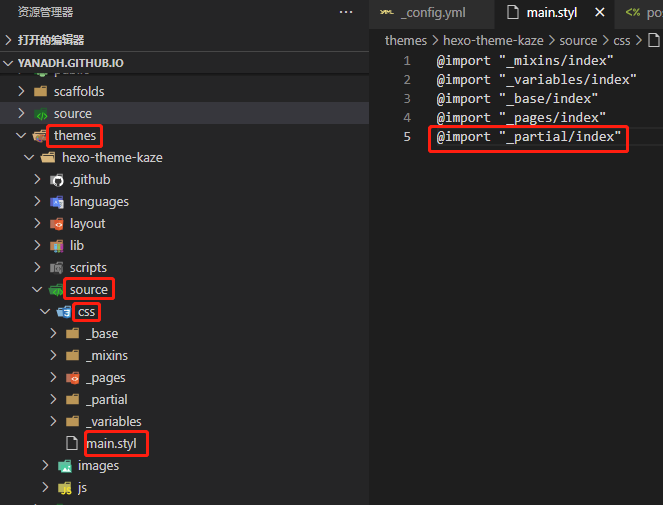
4.2.5 在文章底部插入打赏组件
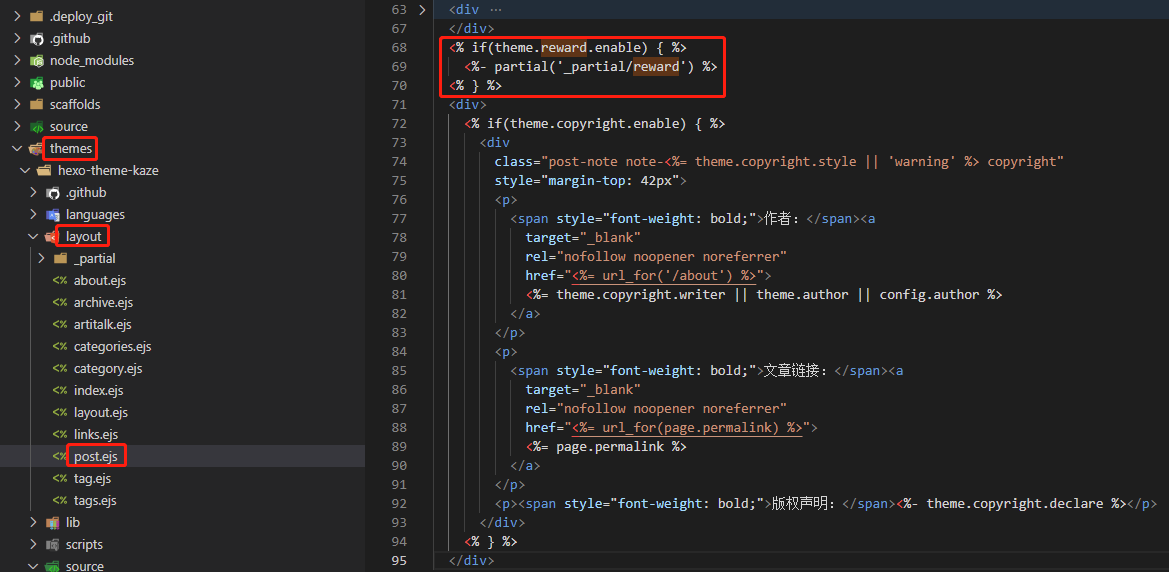
找到项目显示博客文章所对应的 ejs 文件,例如本博客所用主题对应的 ejs 文件是 post.ejs
小窍门:先确定打赏组件在文章中的显示位置,然后复制位置附近的文字全局搜索,快速确定项目显示博客文章所对应的 ejs 文件
将以下内容插入到文件的合适位置
<% if(theme.reward.enable) { %>
  <%- partial('_partial/reward') %>
<% } %>
4.2.6 修改主题站点配置文件
将以下内容复制到主题站点配置文件
reward:
  enable: true
  title: 赞赏支持
  message: 您的鼓励,是我最大的动力!
  pay_links:
    - { type: 微信, link: /images/wechatpay.png }
    - { type: 支付宝, link: /images/alipay.png }

